Hello World KitchenBeta
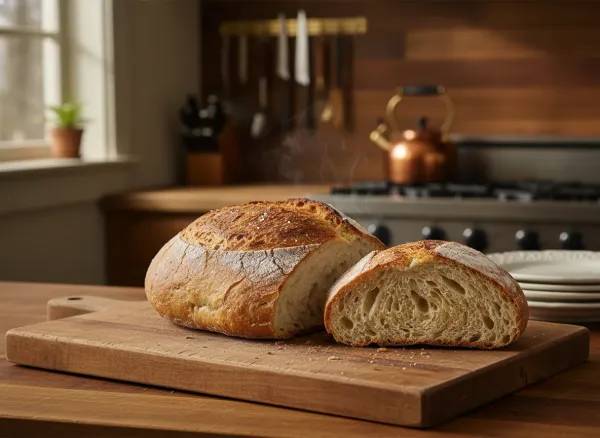
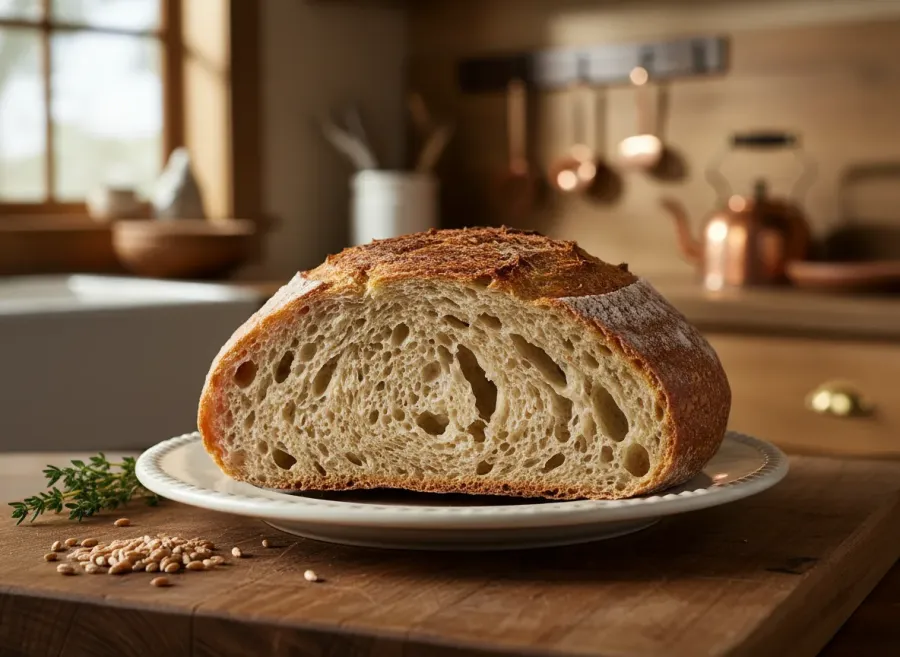
A comprehensive, step-by-step guide to baking a professional-quality artisan sourdough boule at home. Featuring a deeply blistered crust, an open crumb, and a complex flavor developed through cold retardation, this recipe utilizes autolyse, stretch and folds, and Dutch oven baking for bakery-level results.
Ingredients
Dough
- 400 grams Bread flour — Unbleached, high protein
- 50 grams Whole wheat flour — Adds complex flavor and fermentation activity
- 330 grams Water — Filtered, warm (around 80°F/27°C)
- 100 grams Active sourdough starter — Fed and bubbly, at peak (100% hydration)
- 10 grams Fine sea salt — Dissolves easily into the dough
- 2 tablespoons Rice flour (optional) — For dusting the banneton to prevent sticking
Instructions
-
Autolyse: In a large mixing bowl, combine the bread flour, whole wheat flour, and 310g of the warm water (reserve 20g for later). Mix until a shaggy dough forms and no dry flour remains. Cover with a damp towel and let rest for 1 hour.
~60 minAutolyse jumpstarts gluten development and improves the dough's extensibility. -
Add Starter and Salt: Add the active sourdough starter, sea salt, and the reserved 20g of water to the dough. Dimple the dough with wet fingers to integrate the ingredients, then pinch and fold the dough over itself for 3-5 minutes until fully incorporated.
~5 minWetting your hands prevents the dough from sticking to your fingers. -
Bulk Fermentation & Stretch and Folds: Cover the bowl and begin bulk fermentation (usually 4-6 hours total at 75°F/24°C). Perform a set of 'stretch and folds' every 30 minutes for the first 2 hours (4 sets total). To stretch and fold, grab one side of the dough, pull it up until you feel resistance, and fold it over the center. Repeat on all 4 sides.
~4hThe dough will become smoother, more cohesive, and aerated with each set. -
Complete Bulk Fermentation: After the final stretch and fold, let the dough rest undisturbed for the remainder of the bulk fermentation (2-4 hours). It is ready when it has increased in volume by 30-50%, is jiggly, and shows a few bubbles on the surface.
~2hWatch the dough, not the clock. Fermentation time varies wildly depending on ambient temperature. -
Preshape: Gently turn the dough out onto an unfloured work surface. Using a bench scraper and your hands, gently round the dough into a loose ball by tucking the edges underneath. Let it rest uncovered for 20 minutes (bench rest).
~20 minThe bench rest allows the gluten to relax before final shaping. -
Final Shape: Lightly flour the top of the dough and flip it over. Gently stretch it into a rough rectangle. Fold the bottom third up, the left and right sides in, and then roll it from the top down into a tight log. Pinch the seams closed and cup the dough with your hands, dragging it slightly on the counter to build surface tension.
~5 minBuilding surface tension is crucial for a tall loaf and a good 'ear' when baking. -
Cold Proof (Retardation): Dust your banneton generously with rice flour. Place the shaped dough into the banneton seam-side up. Cover with a plastic bag or shower cap and place in the refrigerator for 12 to 16 hours.
~12hCold proofing slows down yeast activity while bacteria continue to produce organic acids, developing the classic sour flavor. -
Preheat the Oven: Place your Dutch oven (with the lid on) into the oven and preheat to 500°F (260°C) for at least 45 minutes.
~45 minA fully preheated Dutch oven traps steam from the dough, resulting in excellent oven spring and a blistered crust. -
Score the Dough: Remove the dough from the fridge. Turn it out onto a piece of parchment paper. Dust off excess rice flour. Using a bread lame or razor blade, quickly and decisively score the dough at a 45-degree angle, about 1/2 inch deep, from top to bottom.
~5 minScoring controls where the bread expands. A 45-degree angle helps create a distinct 'ear'. -
Bake Covered: Using the parchment paper as a sling, carefully lower the dough into the preheated Dutch oven. Cover with the lid and return to the oven. Immediately reduce the oven temperature to 450°F (230°C). Bake for 20 minutes.
~20 minDo not open the oven during this phase; the trapped steam is doing its magic. -
Bake Uncovered: Carefully remove the lid from the Dutch oven. Continue to bake for another 20 to 25 minutes, or until the crust is a deep, dark golden brown.
~25 minFor artisan bread, bake it darker than you think you should. The deep caramelization adds immense flavor. -
Cool Completely: Remove the bread from the Dutch oven and transfer it to a wire cooling rack. Let it cool completely (at least 2 hours) before slicing.
~2hCutting into hot bread will result in a gummy crumb because the starches are still setting.
Nutrition
Equipment
- Large mixing bowl
- Kitchen scale
- Dough whisk or wooden spoon
- Bench scraper
- Banneton (proofing basket) or bowl lined with a kitchen towel
- Dutch oven with lid
- Parchment paper
- Bread lame or sharp razor blade
- Wire cooling rack
Tips & Storage
- Ensure your starter is highly active and passes the 'float test' before mixing your dough.
- Temperature is the ultimate ingredient in baking. Warmer kitchens will ferment dough much faster than cooler ones.
- Using rice flour in your banneton is the secret to ensuring the dough never sticks to the basket.
- Wait until the bread is completely cool to slice it. This allows the steam inside to finish cooking the crumb.
- Storage: Store the loaf cut-side down on a cutting board, or loosely wrapped in a paper bag or clean kitchen towel at room temperature for up to 3 days. For longer storage, slice the cooled bread and freeze in an airtight bag for up to 3 months. Toast slices straight from the freezer.
Tags
🤖 This recipe was created with AI assistance. If you spot a mistake or something that doesn't look right, please report it.